No-Knead Campfire Bread
Have you ever eaten a slice of fresh-baked bread on top of a mountain? No? Well, then you’re in the right place to learn how to make that treat on your next camping adventure.
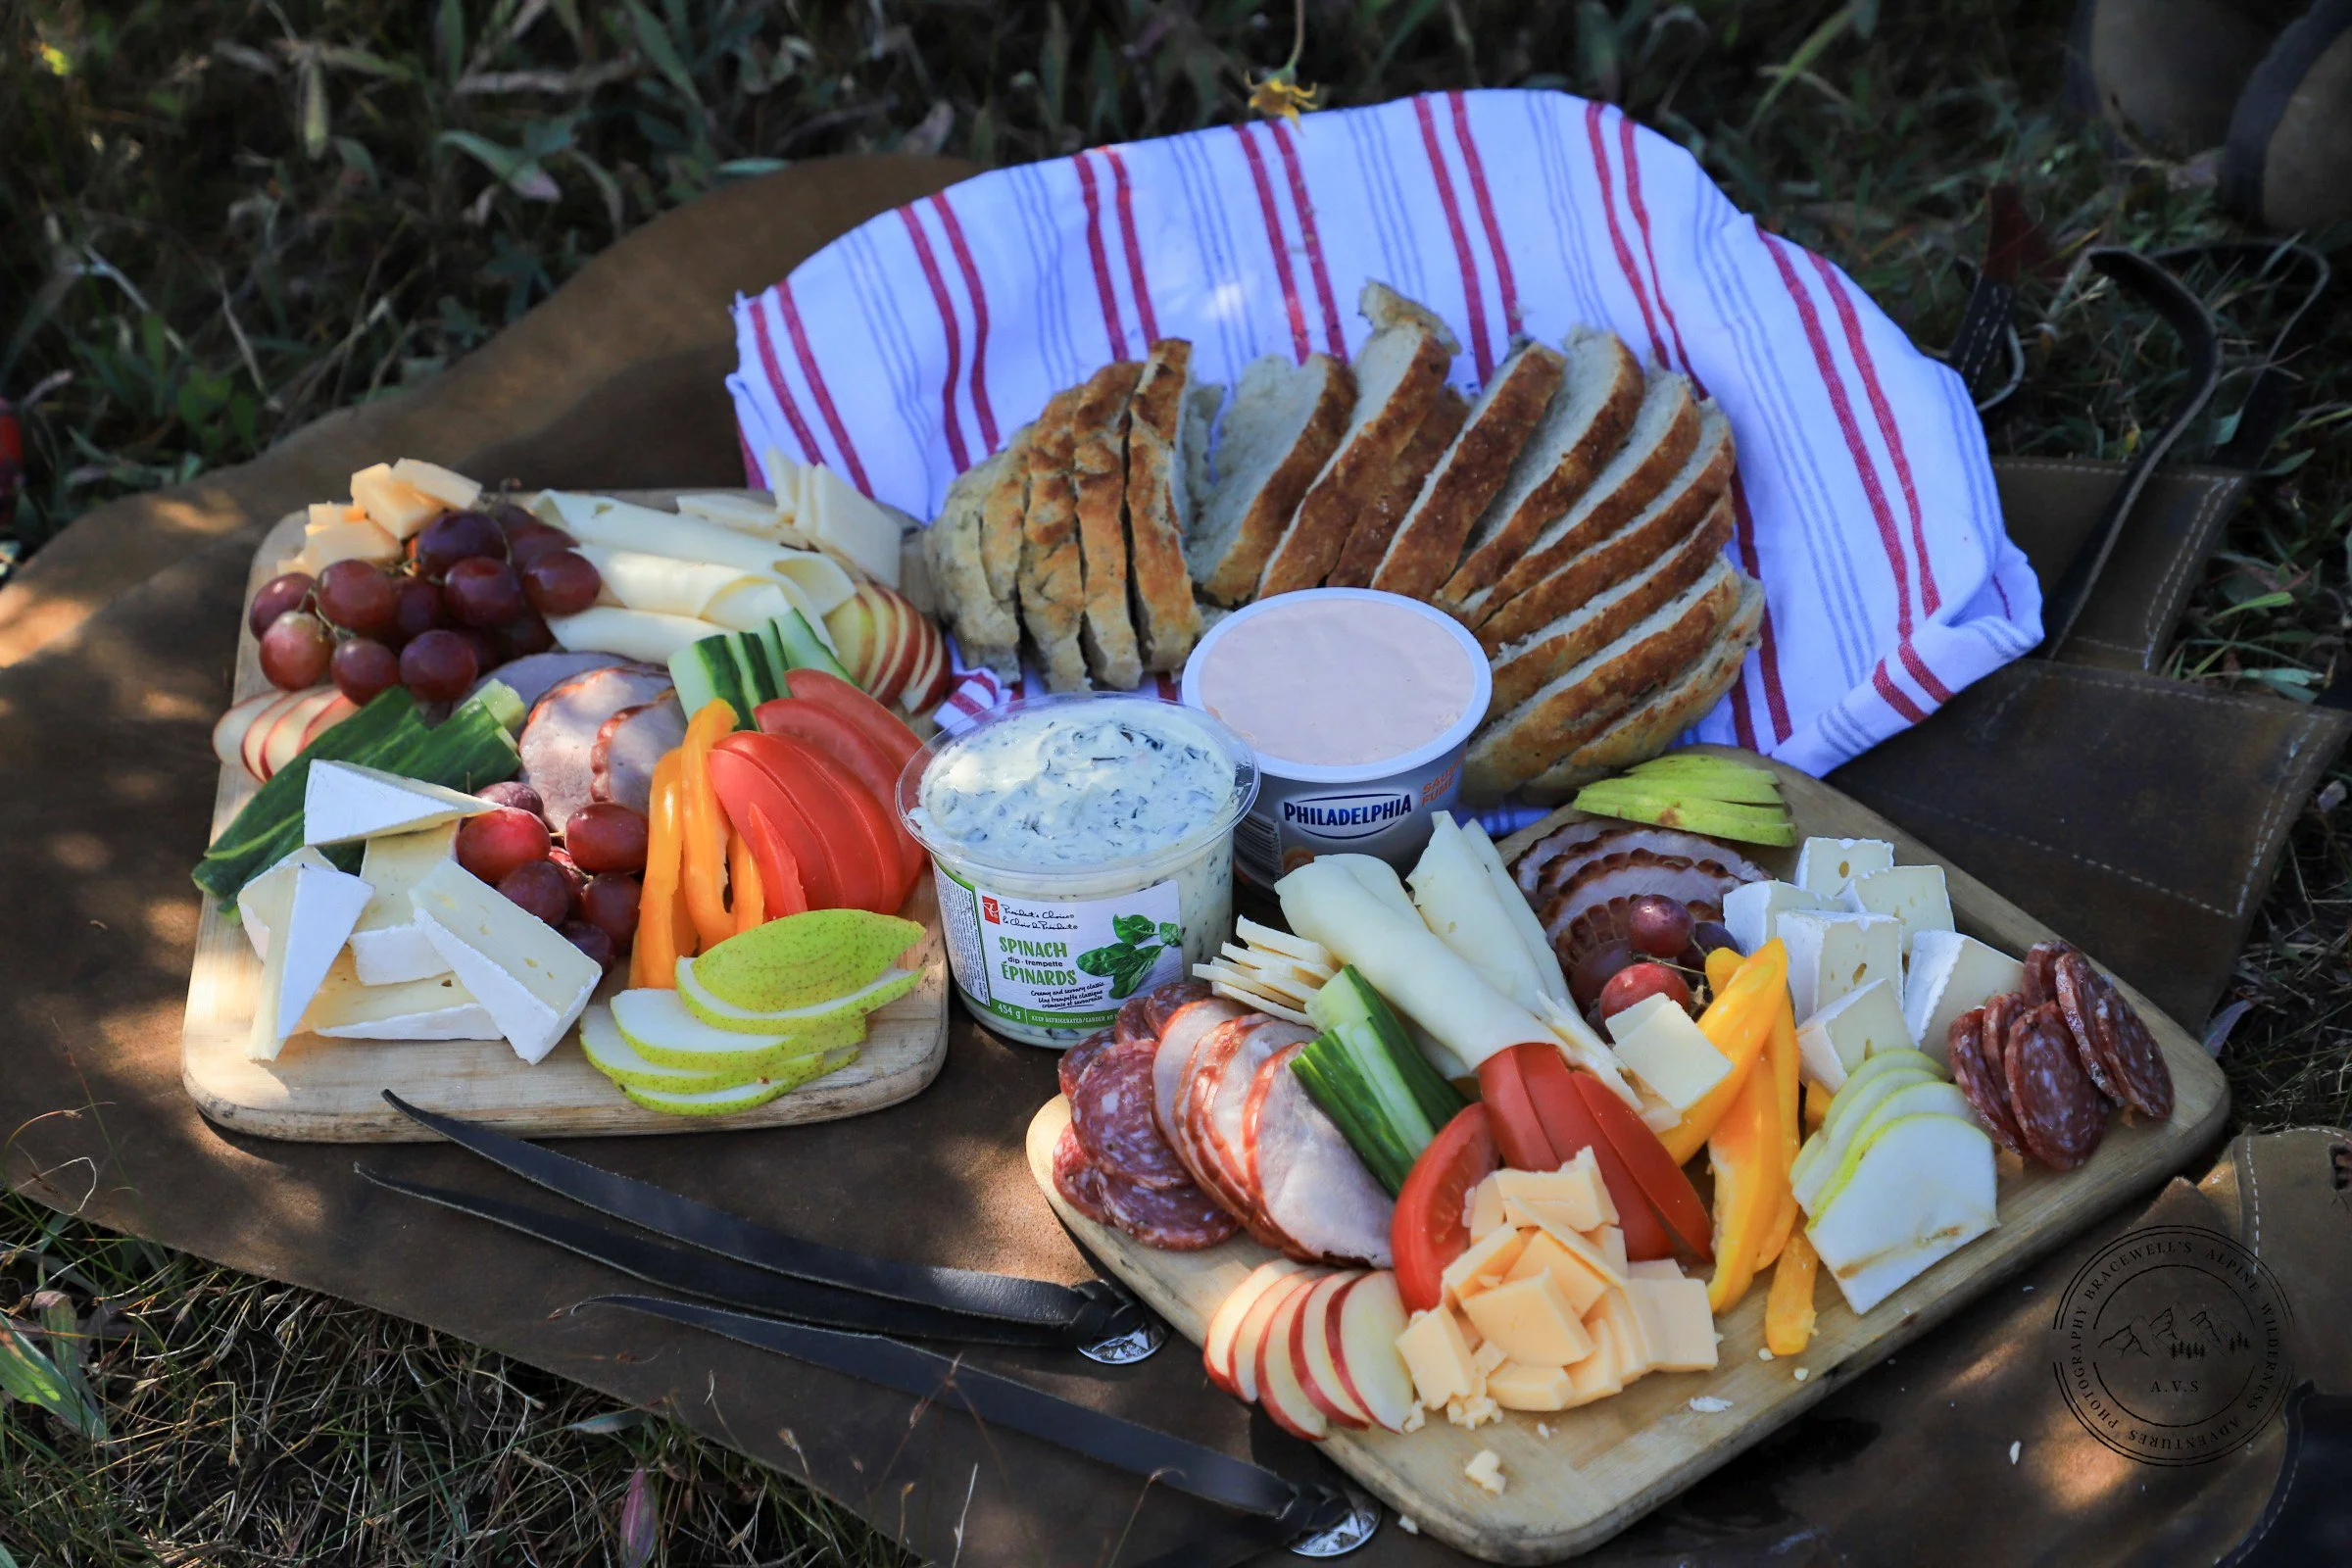
The idea actually started with another idea: we wanted a hearty lunch on one of our mountain trips. A meal where people could sit together and share, just like the Pioneers did. Since things can get a bit tricky in the mountains with horses and gear, a charcuterie board ended up being the perfect solution. And of course, we couldn’t just lay it on a table……so we placed the boards on chaps, and it looked absolutely wonderful. We call it the Charcuterie Chaps!
That got us thinking about bread. Pioneers didn’t have the luxury of buying anything, so we decided to bake our own on the campfire. A no-knead bread made the most sense — easy to prepare in our rustic cabin or outside without worrying about getting the dough dirty.
This bread uses just four simple ingredients: flour, yeast, salt, and water. You mix them together, leave it to rise overnight, and in the morning it’s ready to bake while breakfast is cooking.
Ingredients you’ll need:
3 1/4 cups (425 grams) all-purpose flour
2 teaspoons fine salt
1/2 teaspoon active dry yeast
1 1/2 cups warm water
TIP: Mix all the dry ingredients in a ziplock bag at home before your trip.
Here’s where the magic happens:
Prepare the Dough: Add the dry mixture to a bowl, mix in the warm water, and let the dough rise for at least 8 hours.
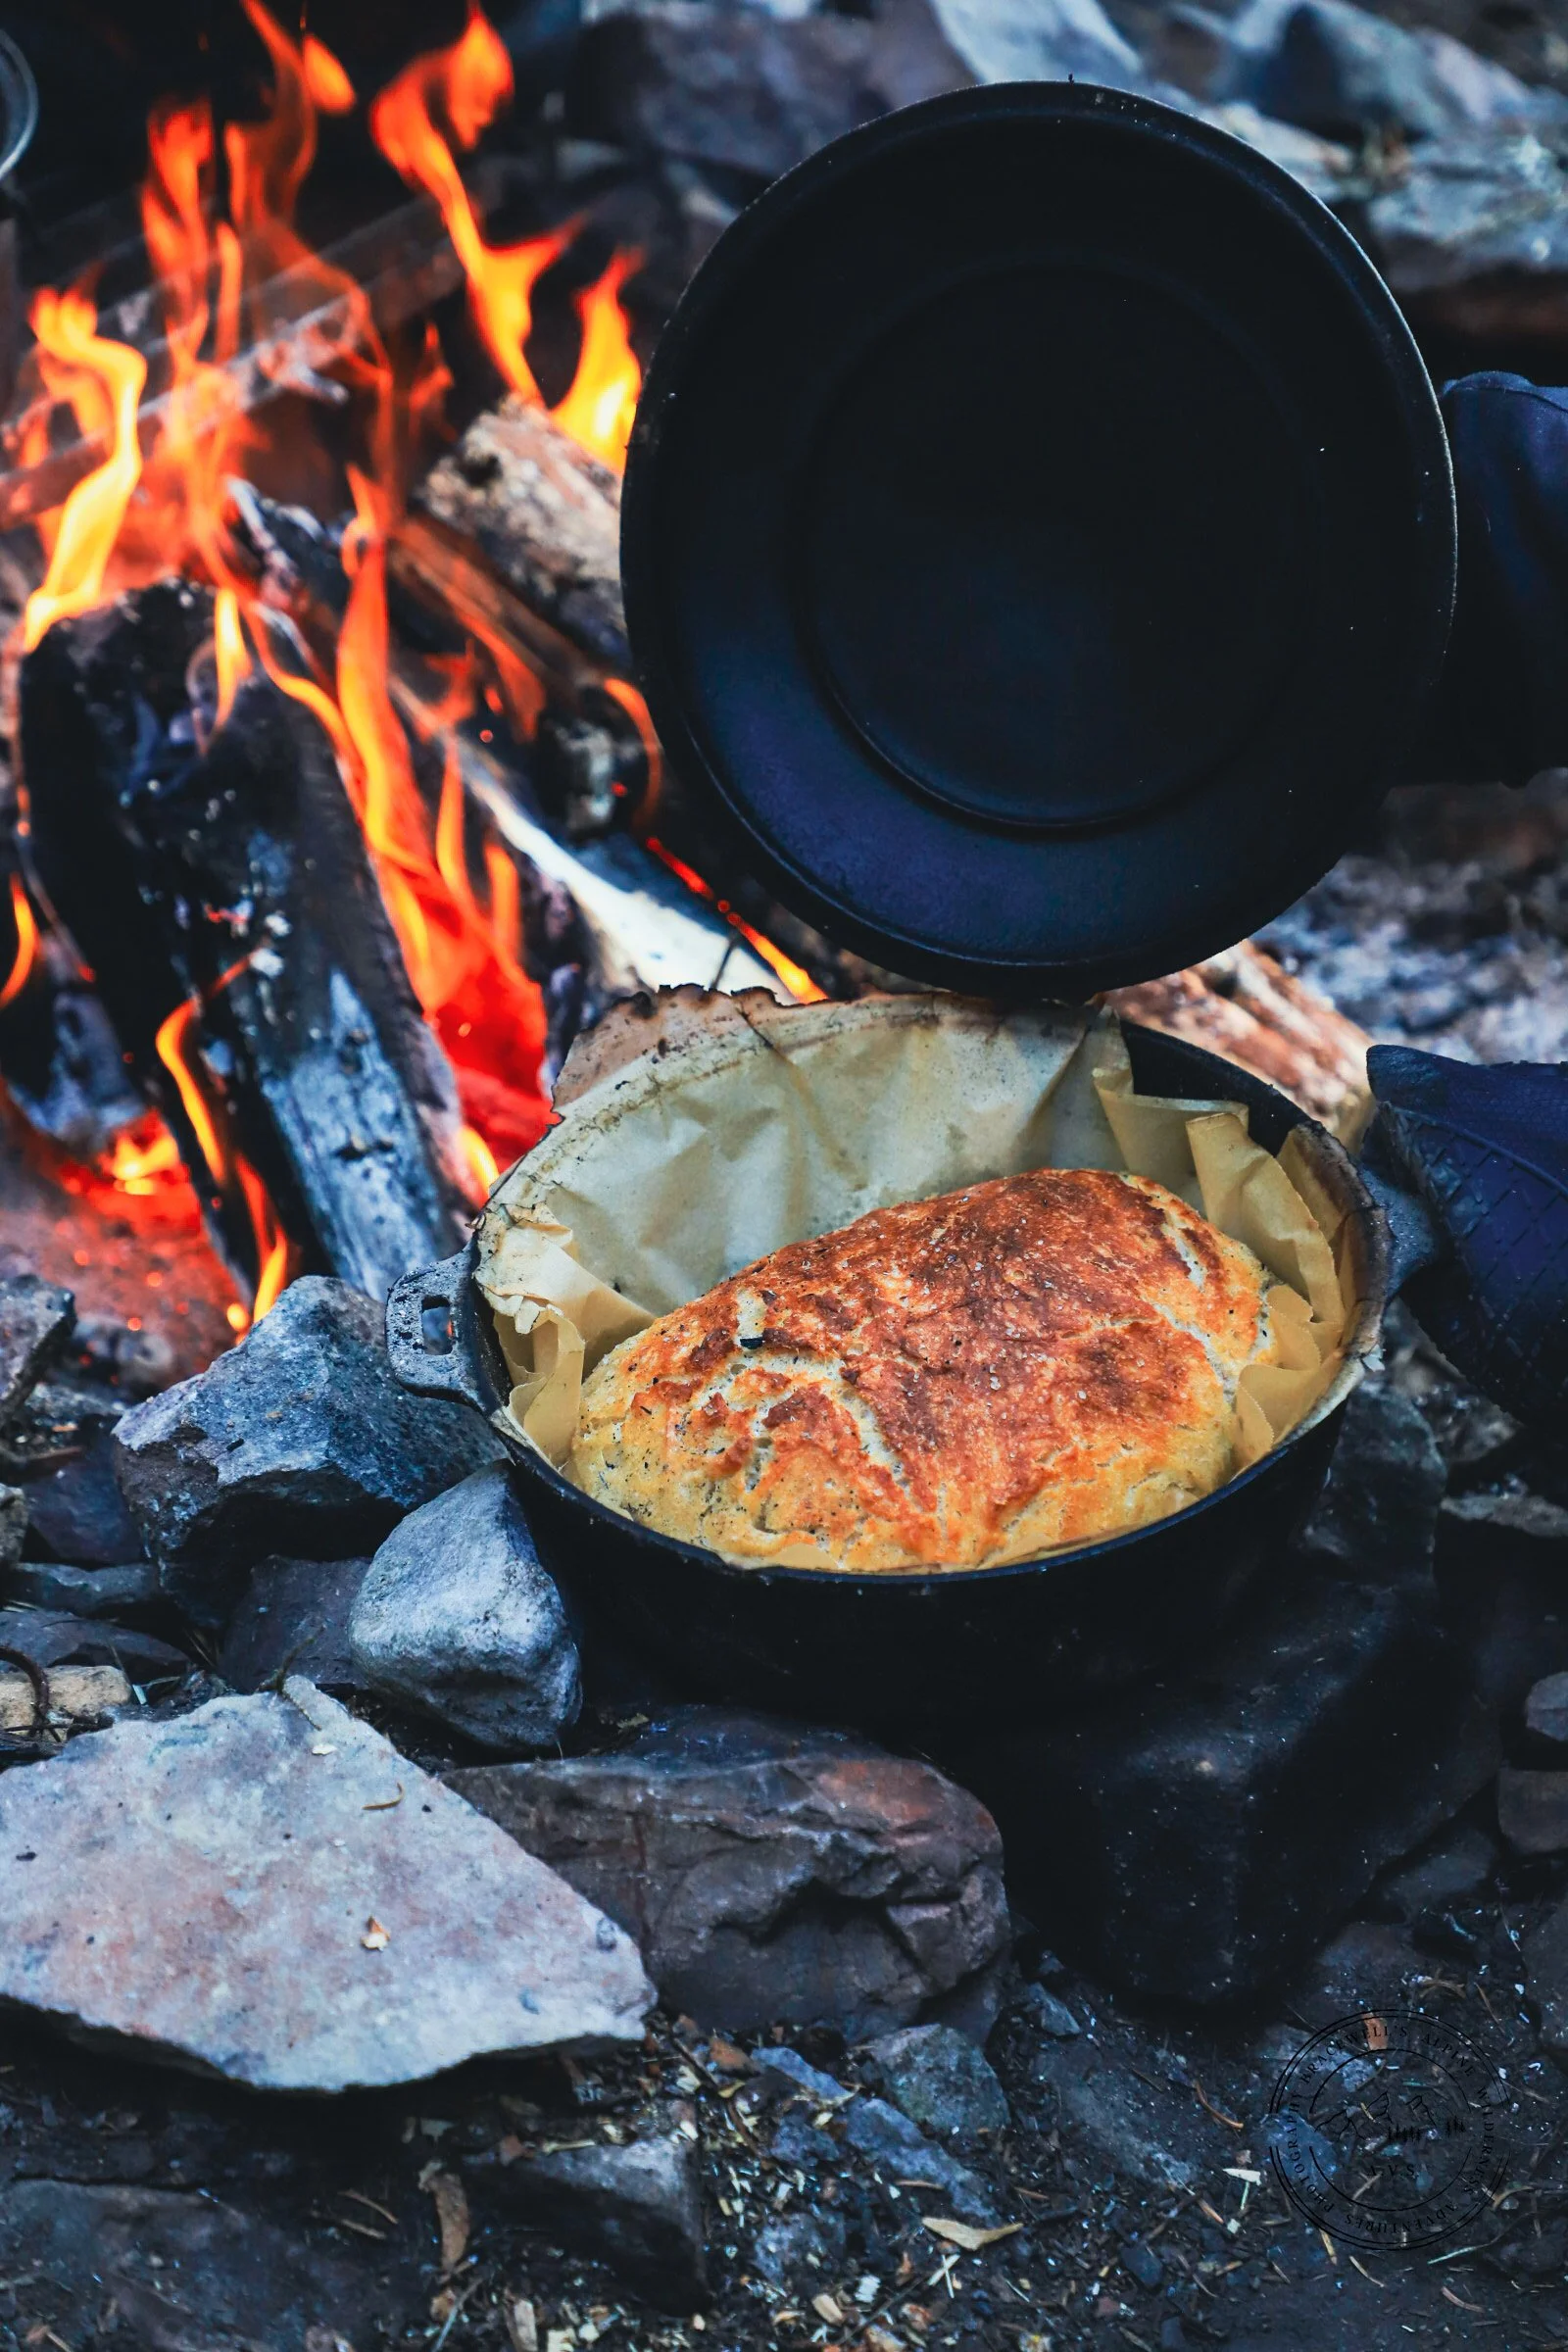
Prepare your Dutch oven: Use one with a flat lid so you can place coals on top. Preheat it over the fire, then line it with parchment paper or aluminum foil, or oil it well to prevent sticking. A thin dusting of flour on the bottom helps too, it’s an old trick that really works.
Bake the dough: Place your risen dough inside the Dutch oven, cover with the lid, and add hot coals on top.
Control the heat: Keep only a small amount of heat underneath so the bread bakes gently and doesn’t burn.
Check and rotate: Every 10 minutes, turn the Dutch oven a quarter turn and make sure the coals on top are still hot. Hover your hand safely above the coals to gauge the heat.
Bake time: 45–60 minutes, depending on how often you check the coals. You can’t just leave it alone, but since you’re probably cooking breakfast over the fire at the same time, it’s the perfect opportunity to keep an eye on your loaf.
Finishing touches: When it’s done, carefully remove the Dutch oven with gloves and set it aside—remember, that iron is really hot. Tap the bottom of the loaf; if it sounds hollow, it’s perfectly baked.
Cool before storing: Let the bread cool completely before wrapping it. This keeps the crust crisp and the inside soft.
Our guests really enjoy this part of the trip. They’re always curious and happy to be involved — checking the coals, watching the bread slowly come to life over the fire. It becomes something shared, not just something served.
Sharing the bread later, up on top, with the group after a morning ride is the best. And honestly—if you try this while camping with your family or friends, or even in the backyard, don’t be surprised if you end up a bit of a hero. ;)
That’s what makes this bread a taste of the Pioneer Trip experience.
— Annalena Schnyder